
Shoe Storage for a Narrow Hall or Closet
Keep everyday footwear accessible without narrowing the path, hiding every pair, or creating a difficult-to-clean pile.
Shopping disclosure: Well1566 Home may earn a commission from qualifying purchases made through marked links, at no extra cost to you. Recommendations are based on use cases and published details; we do not claim hands-on use unless an article explicitly documents it. Read our full disclosure.
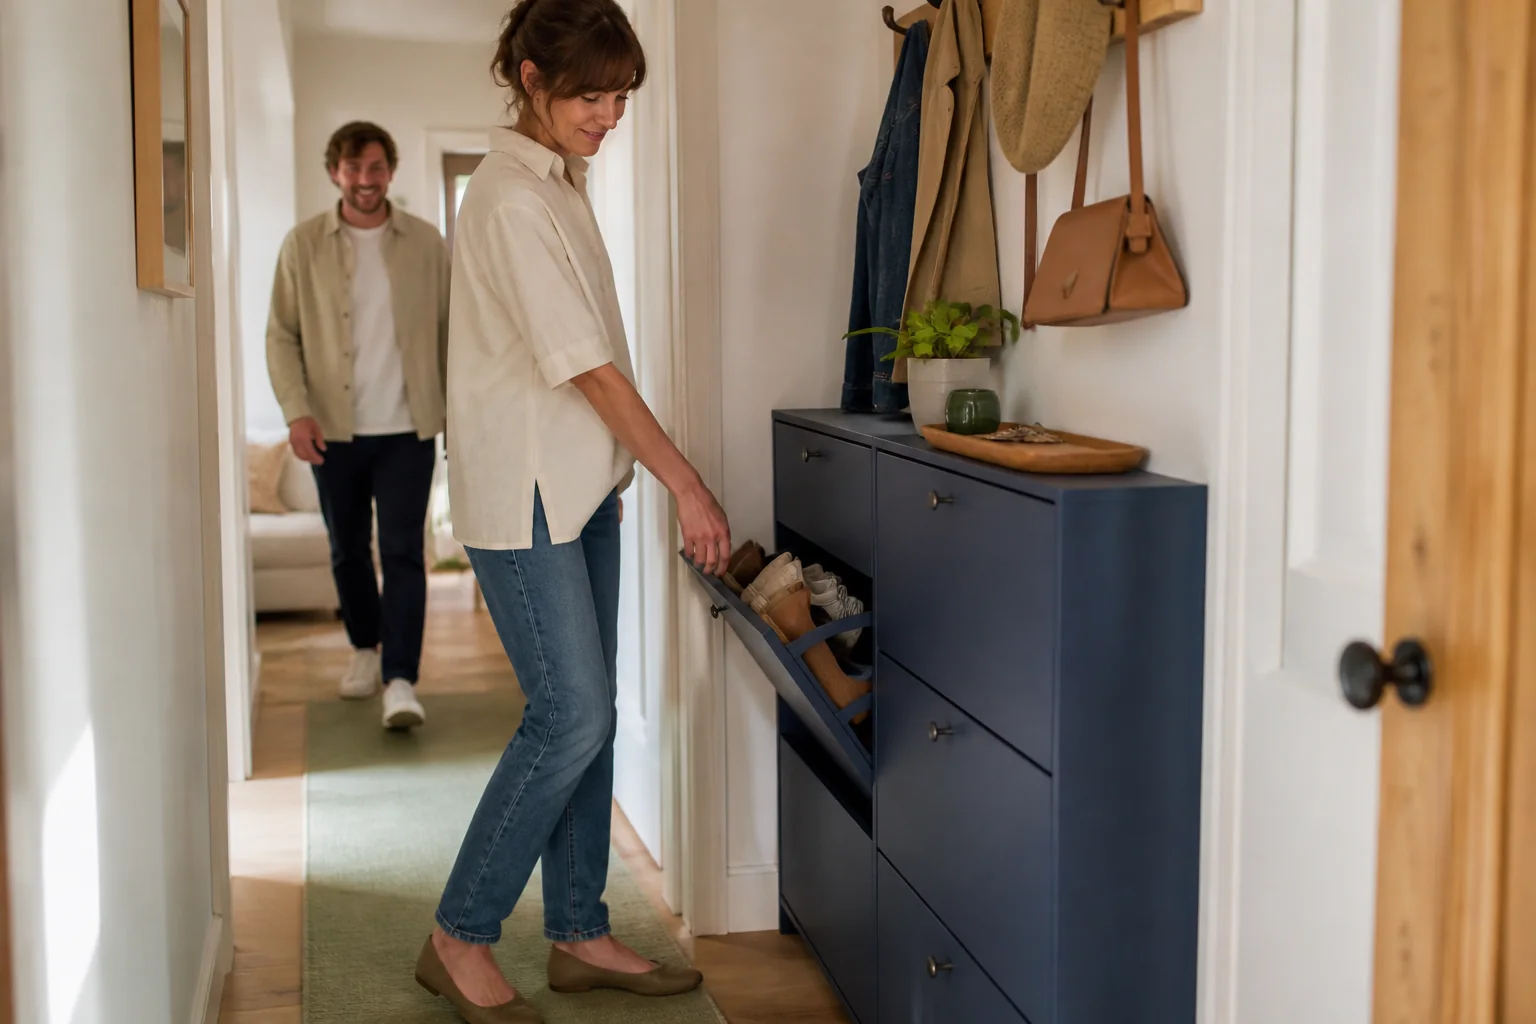
Shoes collect at the entrance because that is where people naturally take them off. The problem is not the habit; it is a storage system that ignores the width of the hall, the height of boots, and the number of pairs in active rotation. A useful solution should protect the walking path and make the right shoes easier to return than to leave on the floor.
Narrow spaces reward vertical storage, shallow footprints, and firm limits. That might mean a tilt-out cabinet for daily flats, an adjustable rack in the coat closet, or a bench that combines seating with open cubbies. The best format depends on who uses the entrance and which footwear truly needs to live there.
The Rainy-Day Bottleneck
Two adults arrive home during a downpour with wet sneakers and one pair of boots. The narrow hall already holds work shoes, a delivery package, and a stroller. If all the footwear goes into a closed cabinet immediately, moisture is trapped; if it stays in the path, someone will trip over it before dinner.
A drip tray for wet pairs and a slim cabinet for dry daily shoes separates drying from storage. Seasonal footwear moves to another closet. This is more realistic than asking one cabinet to manage every pair.
Count the Active Rotation
Begin with the shoes worn in a typical week. Count pairs by person and note unusual heights: boots, high-top sneakers, heels, and children's footwear do not use shelves the same way. Give the entrance capacity to frequent pairs and relocate formal, seasonal, or backup shoes. A smaller, consistently edited zone is easier to maintain than an overfilled organizer.
Open racks expose dirt and allow shoes to air; closed cabinets quiet the view but need ventilation and useful internal depth. A hybrid works well: an open landing zone for damp footwear and enclosed storage after pairs are dry.
- Count pairs by actual weekly use, not total ownership.
- Measure the tallest boot and longest shoe in the rotation.
- Reserve an open, washable place for wet footwear.
Preserve the Passage
Measure the clear hallway before and after doors swing. Mark the proposed storage depth with painter's tape and carry a bag or laundry basket through the route. Wall-mounted or tilt-out cabinets can be shallow, but open doors and drawers temporarily consume space. Freestanding racks need stable feet and should not block baseboard heaters, vents, outlets, or access panels.
Tall, narrow furniture should be anchored when the manufacturer calls for it and the wall permits. Renters can discuss appropriate fastening with the property owner rather than assuming anti-tip requirements can be skipped. Over-door organizers shift storage off the floor, but verify that hooks do not damage trim or prevent a closet door from closing.
- Test the full door and drawer swing within the taped footprint.
- Keep emergency exits and daily walking routes completely clear.
- Follow all supplied anti-tip and mounting instructions.
Choose Interiors That Adapt
Adjustable shelves let one unit handle flats in summer and taller footwear in winter. Slanted shelves may reduce depth, while straight shelves use vertical spacing predictably. Tilt-out compartments look streamlined but can restrict shoe length and bulk, so compare internal measurements rather than exterior size alone.
Removable trays or mats catch grit and make cleaning faster. Smooth surfaces and accessible corners are preferable to fabric cubbies in a muddy entrance, although breathable fabric pockets can work inside a dry closet. If children will retrieve their own shoes, place their pairs low and avoid lids or doors that can pinch fingers.
- Compare internal compartment sizes with real footwear.
- Favor removable liners or trays near the entrance.
- Leave a little open capacity for a returning guest or new pair.
A quick before-you-buy checklist
- Count only the shoes worn during a normal week.
- Measure longest shoes, tallest boots, and clear hallway width.
- Mark the unit plus open doors with painter's tape.
- Separate wet-shoe drying from closed storage.
- Check ventilation, shelf adjustability, and cleanable liners.
- Follow anchoring guidance for tall or narrow furniture.
- Move seasonal and occasional pairs to secondary storage.
The bottom line
Store weekly pairs within reach, give wet footwear a washable landing zone, and protect the walking path. The right organizer makes putting shoes away the easiest next step.
Frequently asked questions
How deep should a shoe cabinet be?
It should be deep enough for the longest footwear in its intended orientation but shallow enough to preserve the hallway. Internal dimensions matter more than exterior depth, especially in tilt-out designs. Measure a real pair and compare it with the compartment drawing before ordering.
Should wet shoes go into a closed cabinet?
Let wet footwear dry in a well-ventilated, appropriate area before putting it into enclosed storage. A removable drip tray and open rack can contain moisture and dirt temporarily. Follow footwear care guidance and clean the landing zone regularly.
How can I keep an open shoe rack looking tidy?
Limit it to current weekly pairs, align shoes consistently, and leave a little open space. Move seasonal footwear elsewhere and add a washable tray beneath the rack. The visual improvement usually comes from reducing the count, not from adding more bins.
More in Small-Space Solutions
More guides you'll use

How to Choose an Apartment Sofa That Fits the Door
Measure the entire delivery path and choose useful seating proportions before falling for a sofa that cannot make the turn.
Read the guide
Nesting Tables That Earn Their Floor Space
Pick nesting tables that separate when guests arrive and tuck away without wobbling, scratching, or wasting room.
Read the guide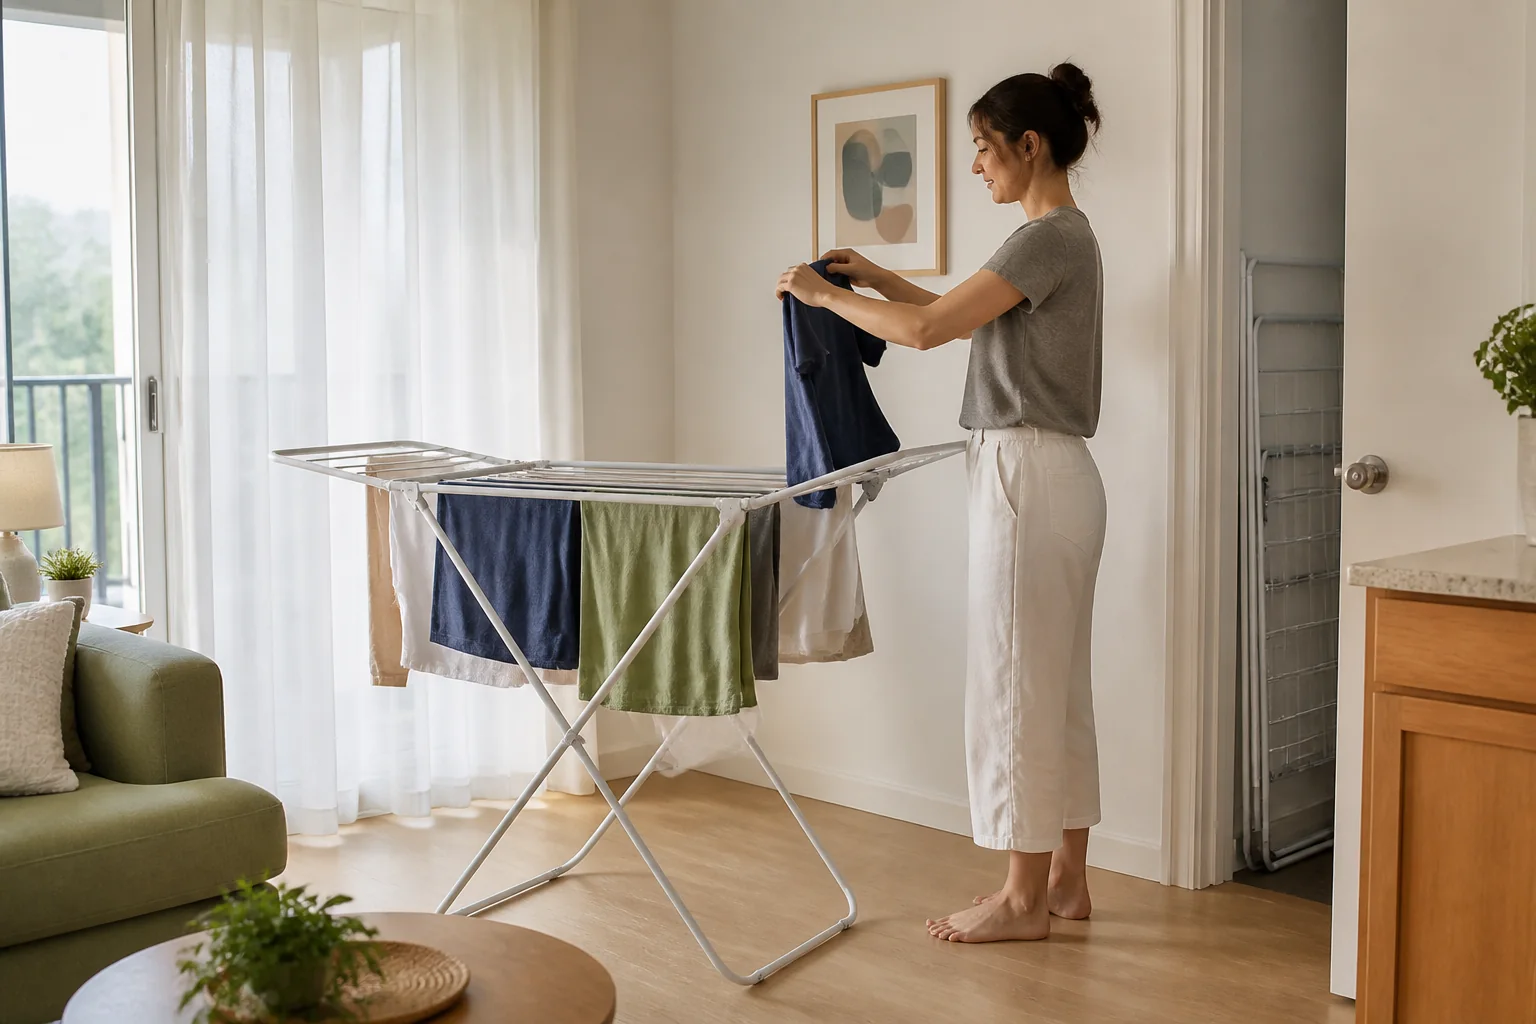
Folding Drying Racks for Apartment Laundry Days
Find a rack that holds a realistic wash load, lets air circulate, and folds away without dominating the apartment.
Read the guide